Unreal Engine –Frosted Glass UE1076
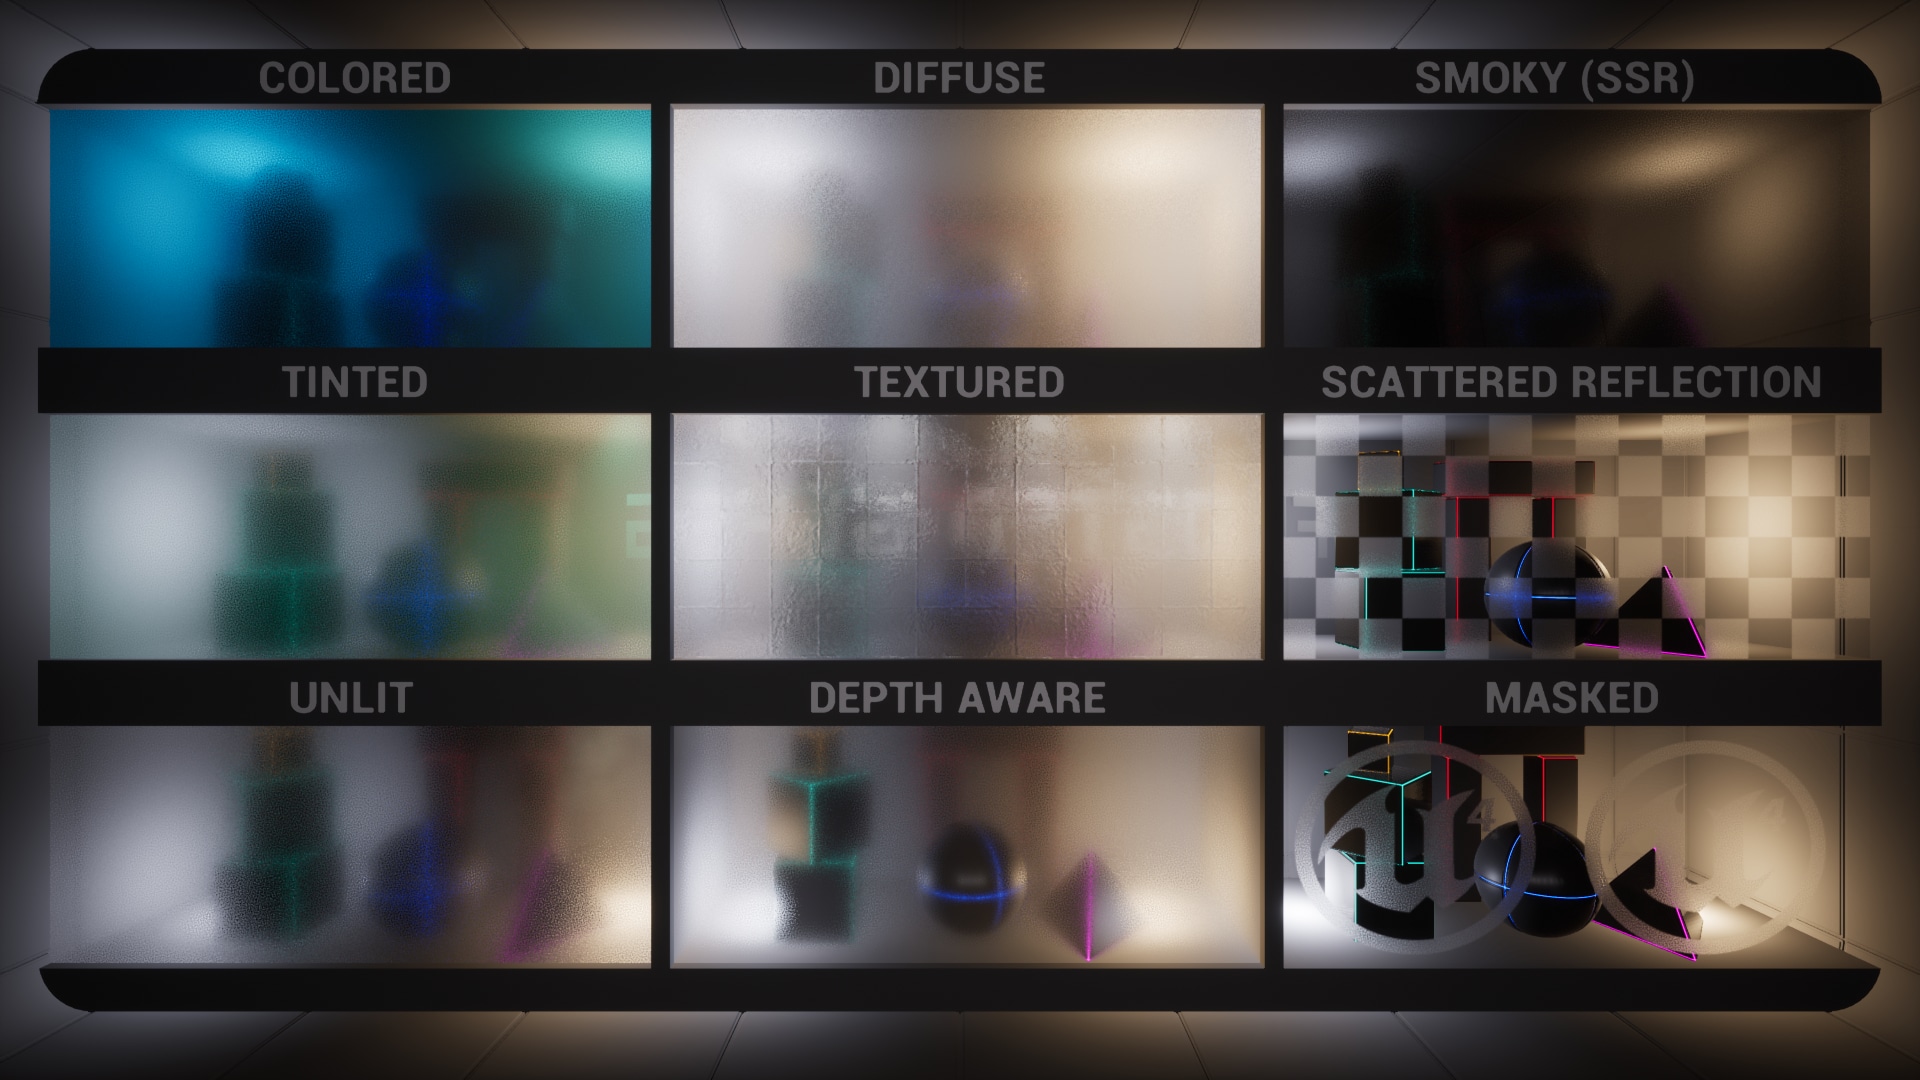
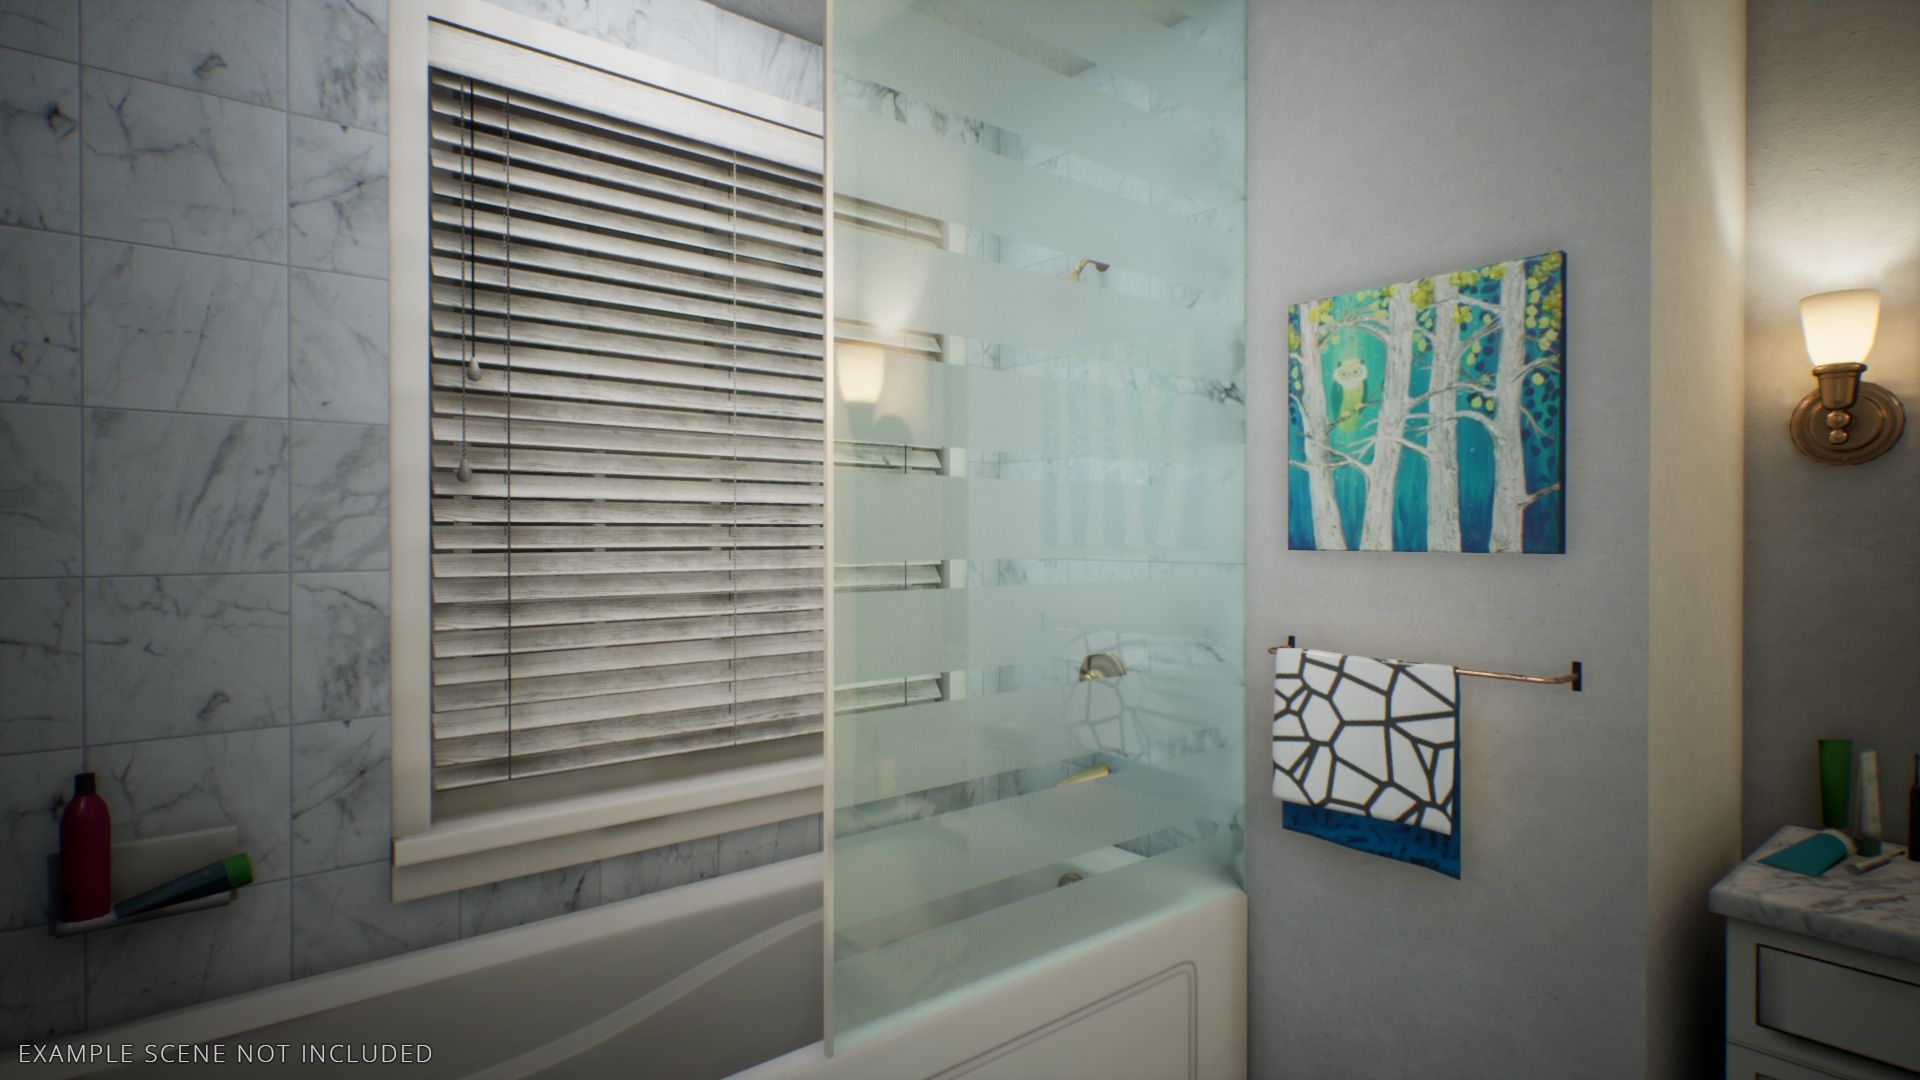
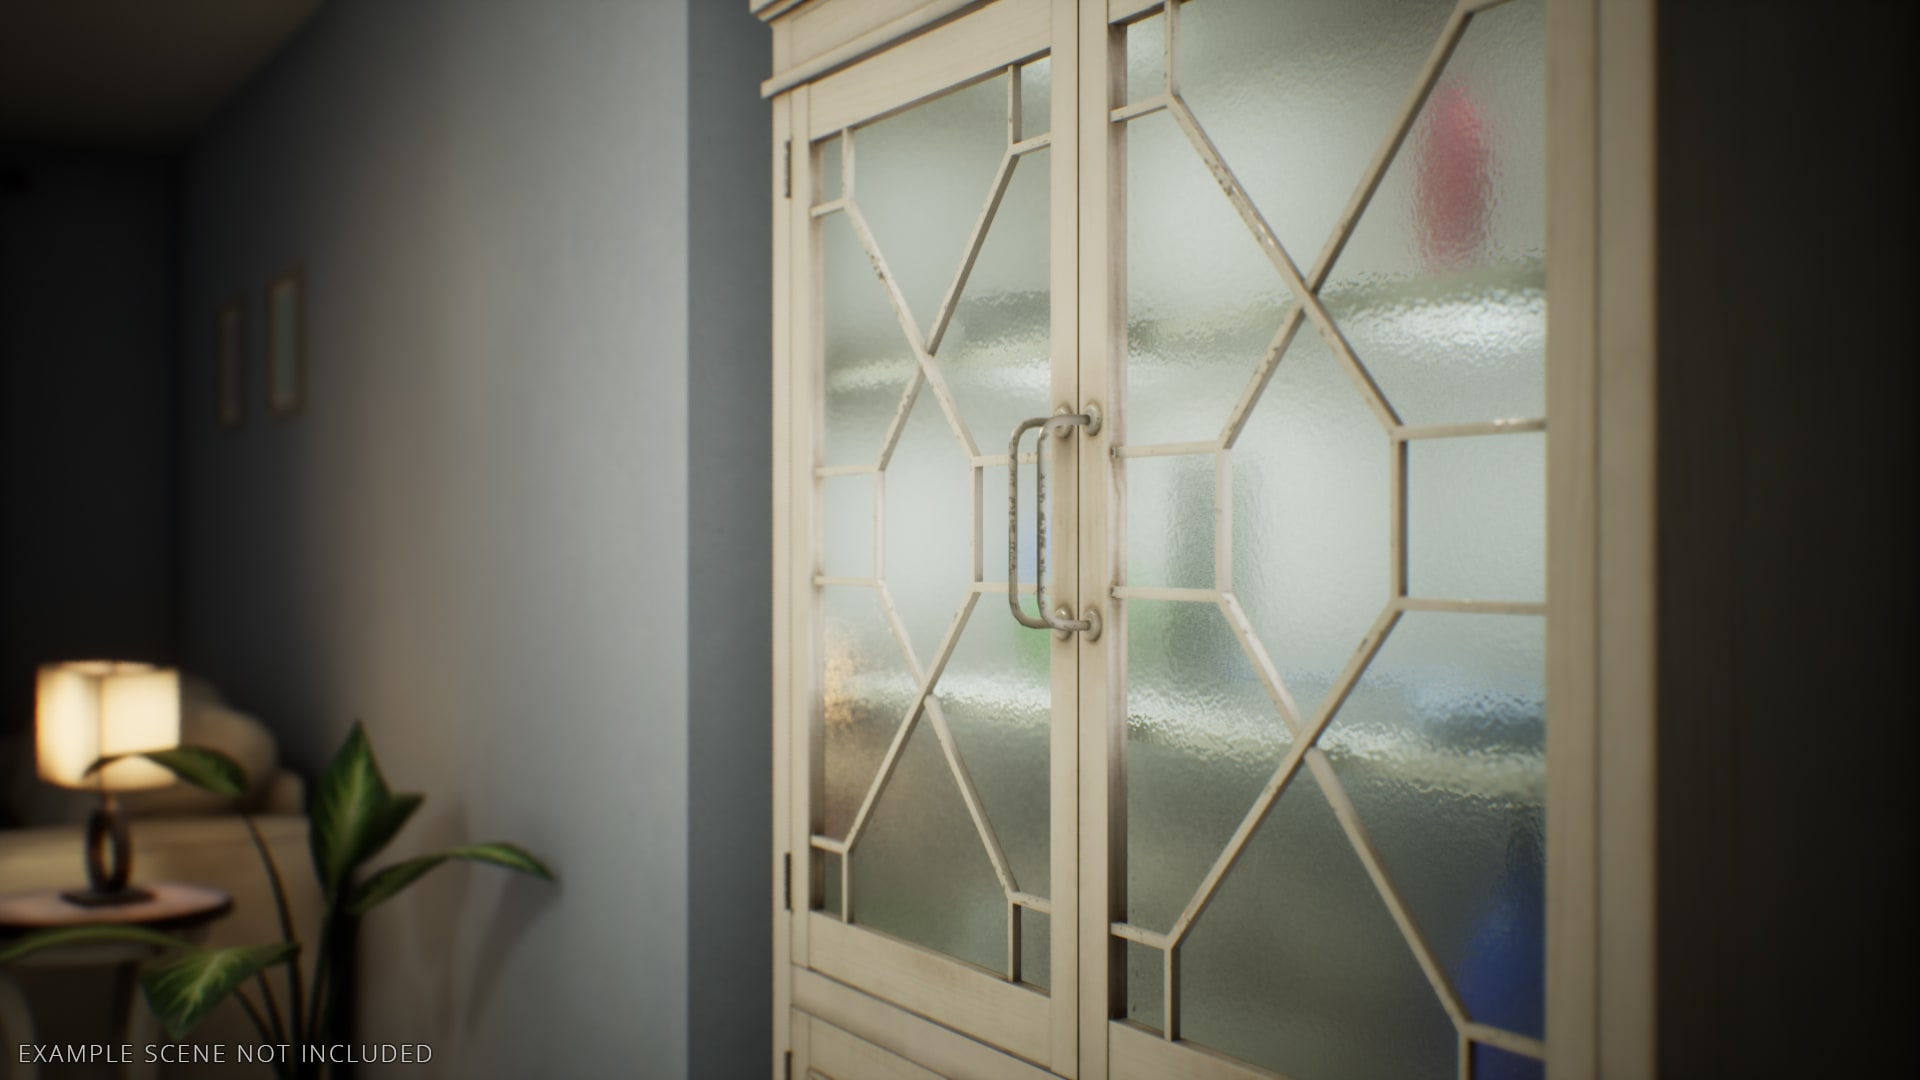
The frosted glass shader is provided in two fundamental implementations, each with their benefits and drawbacks (they can be combined):
Surface Material
- Supports per surface diffuse color (for effects like stained glass)
- Supports per surface reflection color
- Does not support rendering translucency behind the frosted surface
- Supports mobile rendering (lower quality)
Post Process Material
- Supports per post process volume diffuse color
- Supports per surface reflection color
- Supports rendering translucency behind the frosted surface
- Supports mobile rendering (full quality)
The best thing to do is look at the included showcase level to see how the different versions are used and how they can be used in combination to enable more complex effects like multiple layers of frosted glass. Most examples also have a note placed next to them in the level, that provides further information on that specific example.
How to use surface materials
- Simply assign one of the frosted glass materials to your mesh and the effect will work immediately
- If you choose to enable backface culling in the material instance (useful for removing self-overlapping artifacts on complex surfaces), make sure to enable “Render CustomDepth Pass” on the mesh
How to use post process materials
- In the Project Settings, set “Custom Depth-Stencil Pass” to “Enabled with Stencil”
- Assign a regular glass material to your mesh
- On your mesh, enable “Render CustomDepth Pass” and set “CustomDepth Stencil Value” to any value from 1-255
- On your Post Process Volume, add a frosted glass post process material instance to the “Post Process Materials” section
- You should now be able to see the effect on your glass – if you need more information, check out the official documentation on post process materials
Notes on usage with UE5.0
Because Lumen does not yet support mirror like reflections for glass surfaces, you may noticed the reflections look blurry. In such case I would recommend to turn off the lumen glass reflections and use cubemaps to get sharp reflections. The relevant command for that is “r.Lumen.TranslucencyReflections.Enable 0”
Also if you wish to view the static lighting scene, set Global Illumination solution to Screen Space in project settings (this will allow lightmaps and reflections from captures to be shown like in UE4).
Raytraced translucency only supports simple frosted glass where both reflected and transmitted light is scattered.
Supported Platforms
The effect is supported and tested on high end as well as mobile platforms. The post process version has the best compatibility across platforms and supports full quality and material feature set on mobile, compared to the surface version which falls back to a lower quality and limited feature set on mobile.
Rendering Compatibility
Glass materials that are used in combination with the post process frosting version need to have “Render after DOF” / “Mobile Separate Translucency” enabled if they are meant to have sharp reflections or surface detail like dirt or detail normals. This relies on “Separate Translucency” to be enabled in the project settings, which is the case by default.
Included Content
This product includes 4 master materials:
- M_FrostedGlass – fully featured and highly configurable frosted glass surface material
- M_SimpleFrostedGlass – very simple and easy to expand on frosted glass surface material
- M_Glass – regular glass material
- MPP_FrostedGlass – post process material that adds the frosted effect to regular glass surfaces
The surface master materials all share the same material function and also come with a SSR variation that is pre-configured to have screen space reflections enabled.
Additionally there are 26 material instances included, most of which are used in the showcase level to provide examples of how the materials can be used.
Feedback
Feel free to contact me at pedram.navin@gmail.com if you run into any issues or have any feature requests.


