Unity – See-through Shader U3214
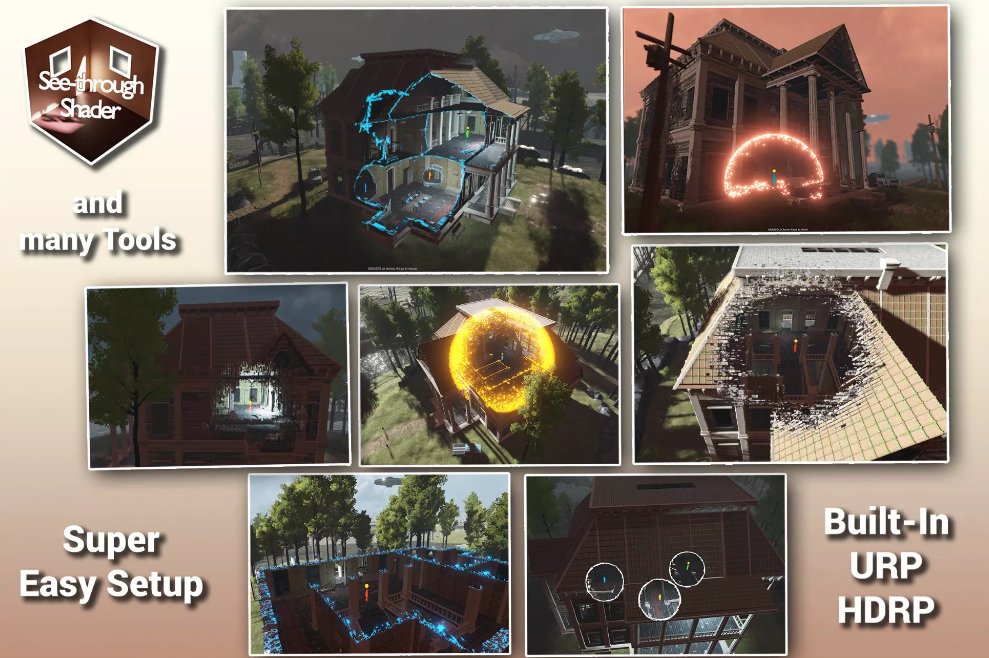
The See-through Shader lets you see your playable characters inside any mesh without being obstructed by it. It doesn’t matter if it is a building, a bridge, a cave, or whatever else you can imagine.
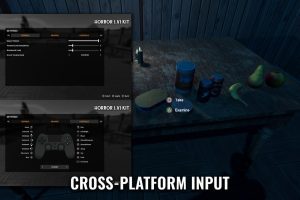
Just apply the shader using one of our provided tools, register a player and it works. The best thing about it is: It doesn’t need any additional changes to your mesh!
We included plenty of super helpful tools to get the effect to work within seconds.
For a non-player-based setup use our player-independent standard dissolve feature or a mix of both.
Note: This shader is meant for use with the standard shader/ lit shaders. But we offer many ways to add the ‘See-through Shader’ to your custom shaders, for more see below ‘Extend your existing custom shaders’
_______ _____ ___ __ _ _ _ _ _ _
______ _______ _____ ___ __ _ _ _ _ _ _
_____________ _______ _____ ___ __ _ _ _ _ _ _
M A I N – F E A T U R E S:
_____________ _______ _____ ___ __ _ _ _ _ _ _
- 🕳️ 6 AMAZING OBSTRUCTION MODES(and Combinations):
_____________ _______ _____ ___ __ _ _ _ _ _ _
🌟 1. None – Removes parts of the mesh that is above a certain Y height
🌟 2. Angle – Removes geometry that is angled toward the camera
🌟 3. Cone – Removes geometry that is inside a cone between the player and the camera. Additionally, there is a combination of Angle and Cone.
🌟 4. Circle – removes geometry that is inside a circle around the player
🌟 5. Cylinder – Removes geometry that is inside a cylinder between the player and the camera. Additionally, there is a combination of Angle and Cylinder.
🌟 6. Curve – Removes geometry inside the region defined by a curve.
_____________ _______ _____ ___ __ _ _ _ _ _ _
- 🕹️ MANY WAYS OF CONTROLLING THE EFFECT:
_____________ _______ _____ ___ __ _ _ _ _ _ _
👨👩👧👦 Player-Based:
🎈 1. Effect Radius Only – The see-through effect will be active inside a sphere around the player. You can use any obstruction mode with this method.
🎈 2. Auto-Detect – As long as your buildings etc. have colliders that describe the geometry somewhat decently, the see-through shader will auto-detect if a player is inside a mesh and
activate the effect. This method also works on a per-building basis and so you can use
beautiful enter/exit transitions with it.
🎈 3. TriggerByParent
🎈 4. TriggerByBox
🎈 5. TriggerById
Triggers allow for the most precise control and work perfectly on a per-building basis. For this method you have to place enter and exit trigger object yourself, so the setup requires a couple of seconds more, but it is worth it.
Note: TriggerByParent also supports using a single-parent collider instead of dedicated enter and exit triggers, which is super easy and achieves great results.
🎡 Player-Independent:
🎢 1. Always On – The see-through effect will always be on.
🎢 2. Toggle by UI – Toggle the see-through effect via UI.
🎢 3. Toggle by Click – Toggle the see-through effect by clicking your objects.
…and many more examples
_____________ _______ _____ ___ __ _ _ _ _ _ _
- ⚙️ EXTEND YOUR EXISTING CUSTOM SHADERS:
_____________ _______ _____ ___ __ _ _ _ _ _ _
Add the ‘See-through Shader’ functionality to your custom shaders without compromises!
🔨 ShaderGraph Support: Use our STS Custom Function Node to extend the complete STS functionality to your existing ShaderGraph shader. Super easy! (Currently only working in 2020 and 2021. Support for 2019 is coming soon!)
🔨 BetterShaders Stackable: Add our STS Stackable to your BetterShaders Stack and immediately extend any of your BetterShaders Shaders.
If you need any help with it, you can always contact our customer support!
_____________ _______ _____ ___ __ _ _ _ _ _ _
- 💣ANIMATIONS:
_____________ _______ _____ ___ __ _ _ _ _ _ _
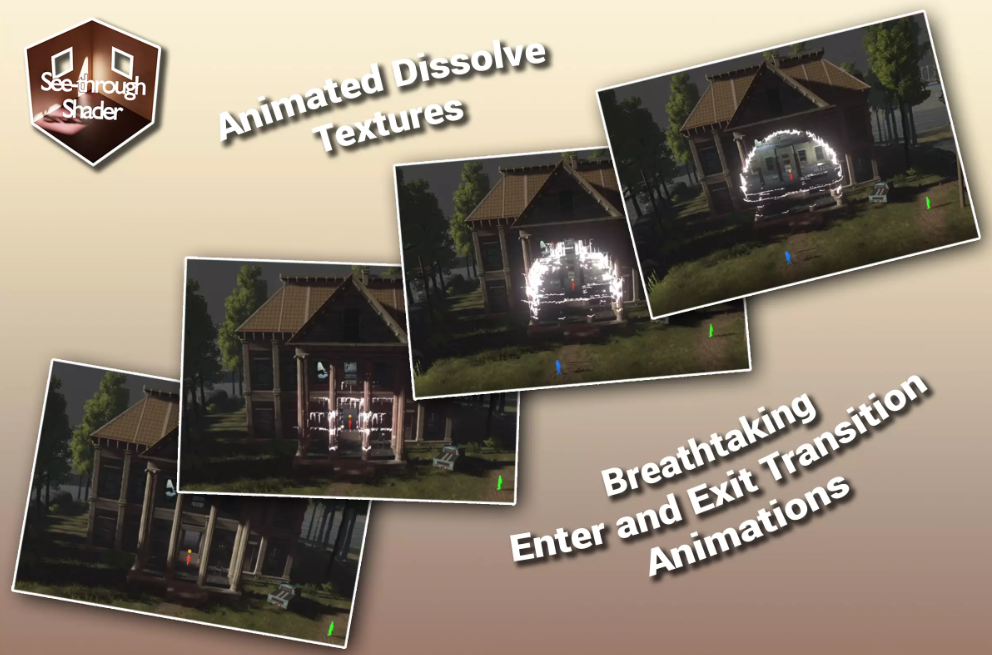
🧨Breathtaking Enter- and Exit Transitions
🧨Dissolve texture animations
_____________ _______ _____ ___ __ _ _ _ _ _ _
- 👨👨👧👧 MULTIPLE PLAYERS AND FLOOR/CEILING MODES:
_____________ _______ _____ ___ __ _ _ _ _ _ _
🤸♂️ Use any number of players. It doesn’t matter if they are in the same building or spread across many different locations.
🤸♂️ Limit the effect to a certain Y height so your players don’t lose the ground under their feet.
🤸♂️ Add or remove the ceiling at a certain Y height.
_____________ _______ _____ ___ __ _ _ _ _ _ _
- 📐 ZONING:
_____________ _______ _____ ___ __ _ _ _ _ _ _
📏 Create incredible micro-play experiences and stunning game ideas with our high-performance zoning feature.
📏 Choose from 2 modes: Additive and Subtractive
📏 Make zones revealable.
_____________ _______ _____ ___ __ _ _ _ _ _ _
- 🌈 MANY WAYS OF STYLING THE EFFECT:
_____________ _______ _____ ___ __ _ _ _ _ _ _
🌸 Use any custom texture to style the dissolve effect.
🌸 Change the color and the emission intensity of the effect.
🌸 Use DissolveMasks to change the appearance of the cylinder, cone, and circle obstruction modes.
_____________ _______ _____ ___ __ _ _ _ _ _ _
- 🏔️ INTEGRATION WITH THE MICROSPLAT TERRAIN SHADER (Paid Add-on)
_____________ _______ _____ ___ __ _ _ _ _ _ _
🏜️ Get the See-through Shader: MicroSplat Integration and use ALL of the See-through Shader features with MicroSplat!
You can find it here: See-through Shader: MicroSplat Integration
( Note: MicroSplat Integration is a paid add-on, it’s not included in this asset and has to be bought separately)